Did you know that I’m that guy? I’m the guy who whenever there’s Transformers related news (new film, new cartoon, new video game, etc), everyone I know comes to me. I’m like… the only Transformers pundit my circle of friends is acquainted with. So how could I not review…
* * *
Transformers: Dark of the Moon (In theaters now!)
Man, after watching this movie, I’m all: O_O
As in shellshocked. Very intense.
Basically, it’s Michael Bay, you should know what you’re getting into, so don’t be hating. This one is better than the second one, and not as good as the first. If you’ve seen the other two, you have a good idea where your opinion will fall.
It’s a 4 hour plot crammed into a ~2.5 hour movie, and I felt like we were only watching every other scene–the burden is on the viewer to fill in the blanks in many instances. But you get what you’re there for: crazy intense robot battles, hot cars, one hot girl, and plenty of ‘splosions.
As promised by Bay himself, the toilet humor is pretty much gone (there were maybe three toilet humor jokes, and some innuendo, but nothing even as bad as the masturbation conversation in the first movie). And with that little modification, I did find myself enjoying almost every joke that was cracked.
Like the second movie, this one suffers from too many new robots with too little characterization. Let me rephrase that… there’s no such thing as too many robots, but let’s see some personality, yes? The old school cartoon had a cast of dozens, with distinct personalities established within the first handful of episodes. On the Decepticon side, the hordes of grey Genericons (some of whom were supposed to be “somebody”) were pretty dismissable.
Another notable downside carried over from the second movie–Optimus Prime’s moral compass goes beyond the Mortal Kombat mark, when it should really be closer to the Superman mark.
My last two complaints:
1) Why are Transformers so hairy and gooey? You’ll see what I mean.
2) They are referred to as Transformers in dialogue, which is a huge faux pas to me. Transformers is the name of the franchise dude, not the race. They’re Cybertronians. I know, pretty nerdy, right? Hi ladies.
And…
Verdict: Come on, who are you talking to here? It’s me, Transformers fan numbah one. It was Awesome. Good pacing, intense action. I’m not downplaying the movie’s faults, but like I said, we all know what we’re getting into. If you can acknowledge significant flaws without letting it bum you out, and you’re looking for some robo-centric eye candy, then go for it.
For More Giant Robots Getting Blowed Up Good: Real Steel is coming out in October, and oh my god it looks stupid and also, why do I have to wait until October??? ROBOTS NOW PLZ. K thx.
* * *
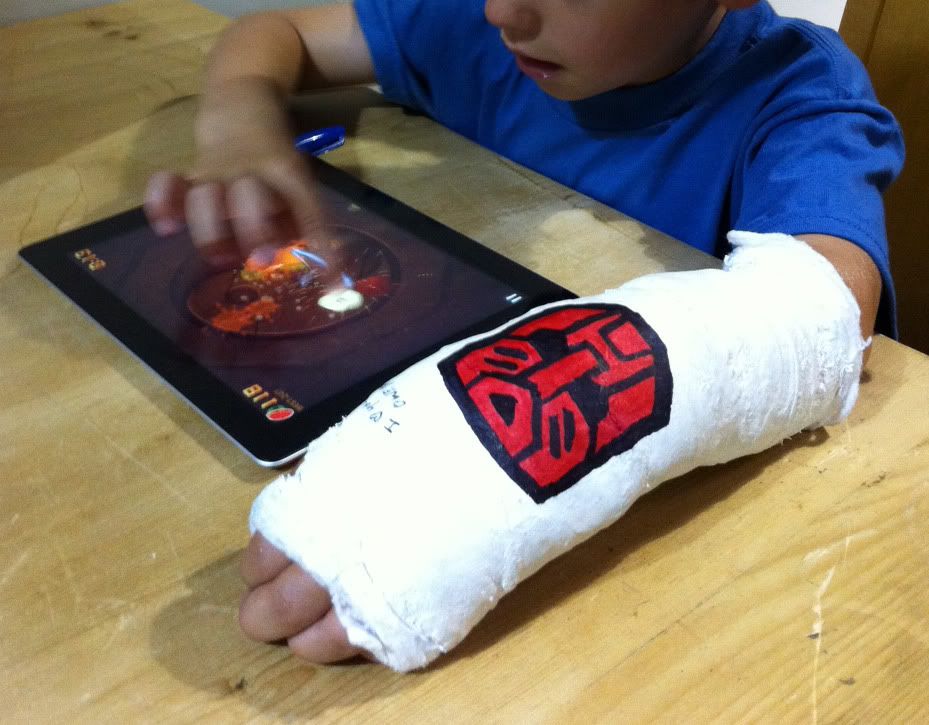
That was more like a 500 second review, but oh well. In unrelated Transformers news, I did this for my co-worker’s son:
click above for larger view
Autobot insignia drawn by me. Child courtesy of Blabidibla, photo by Ruth666.